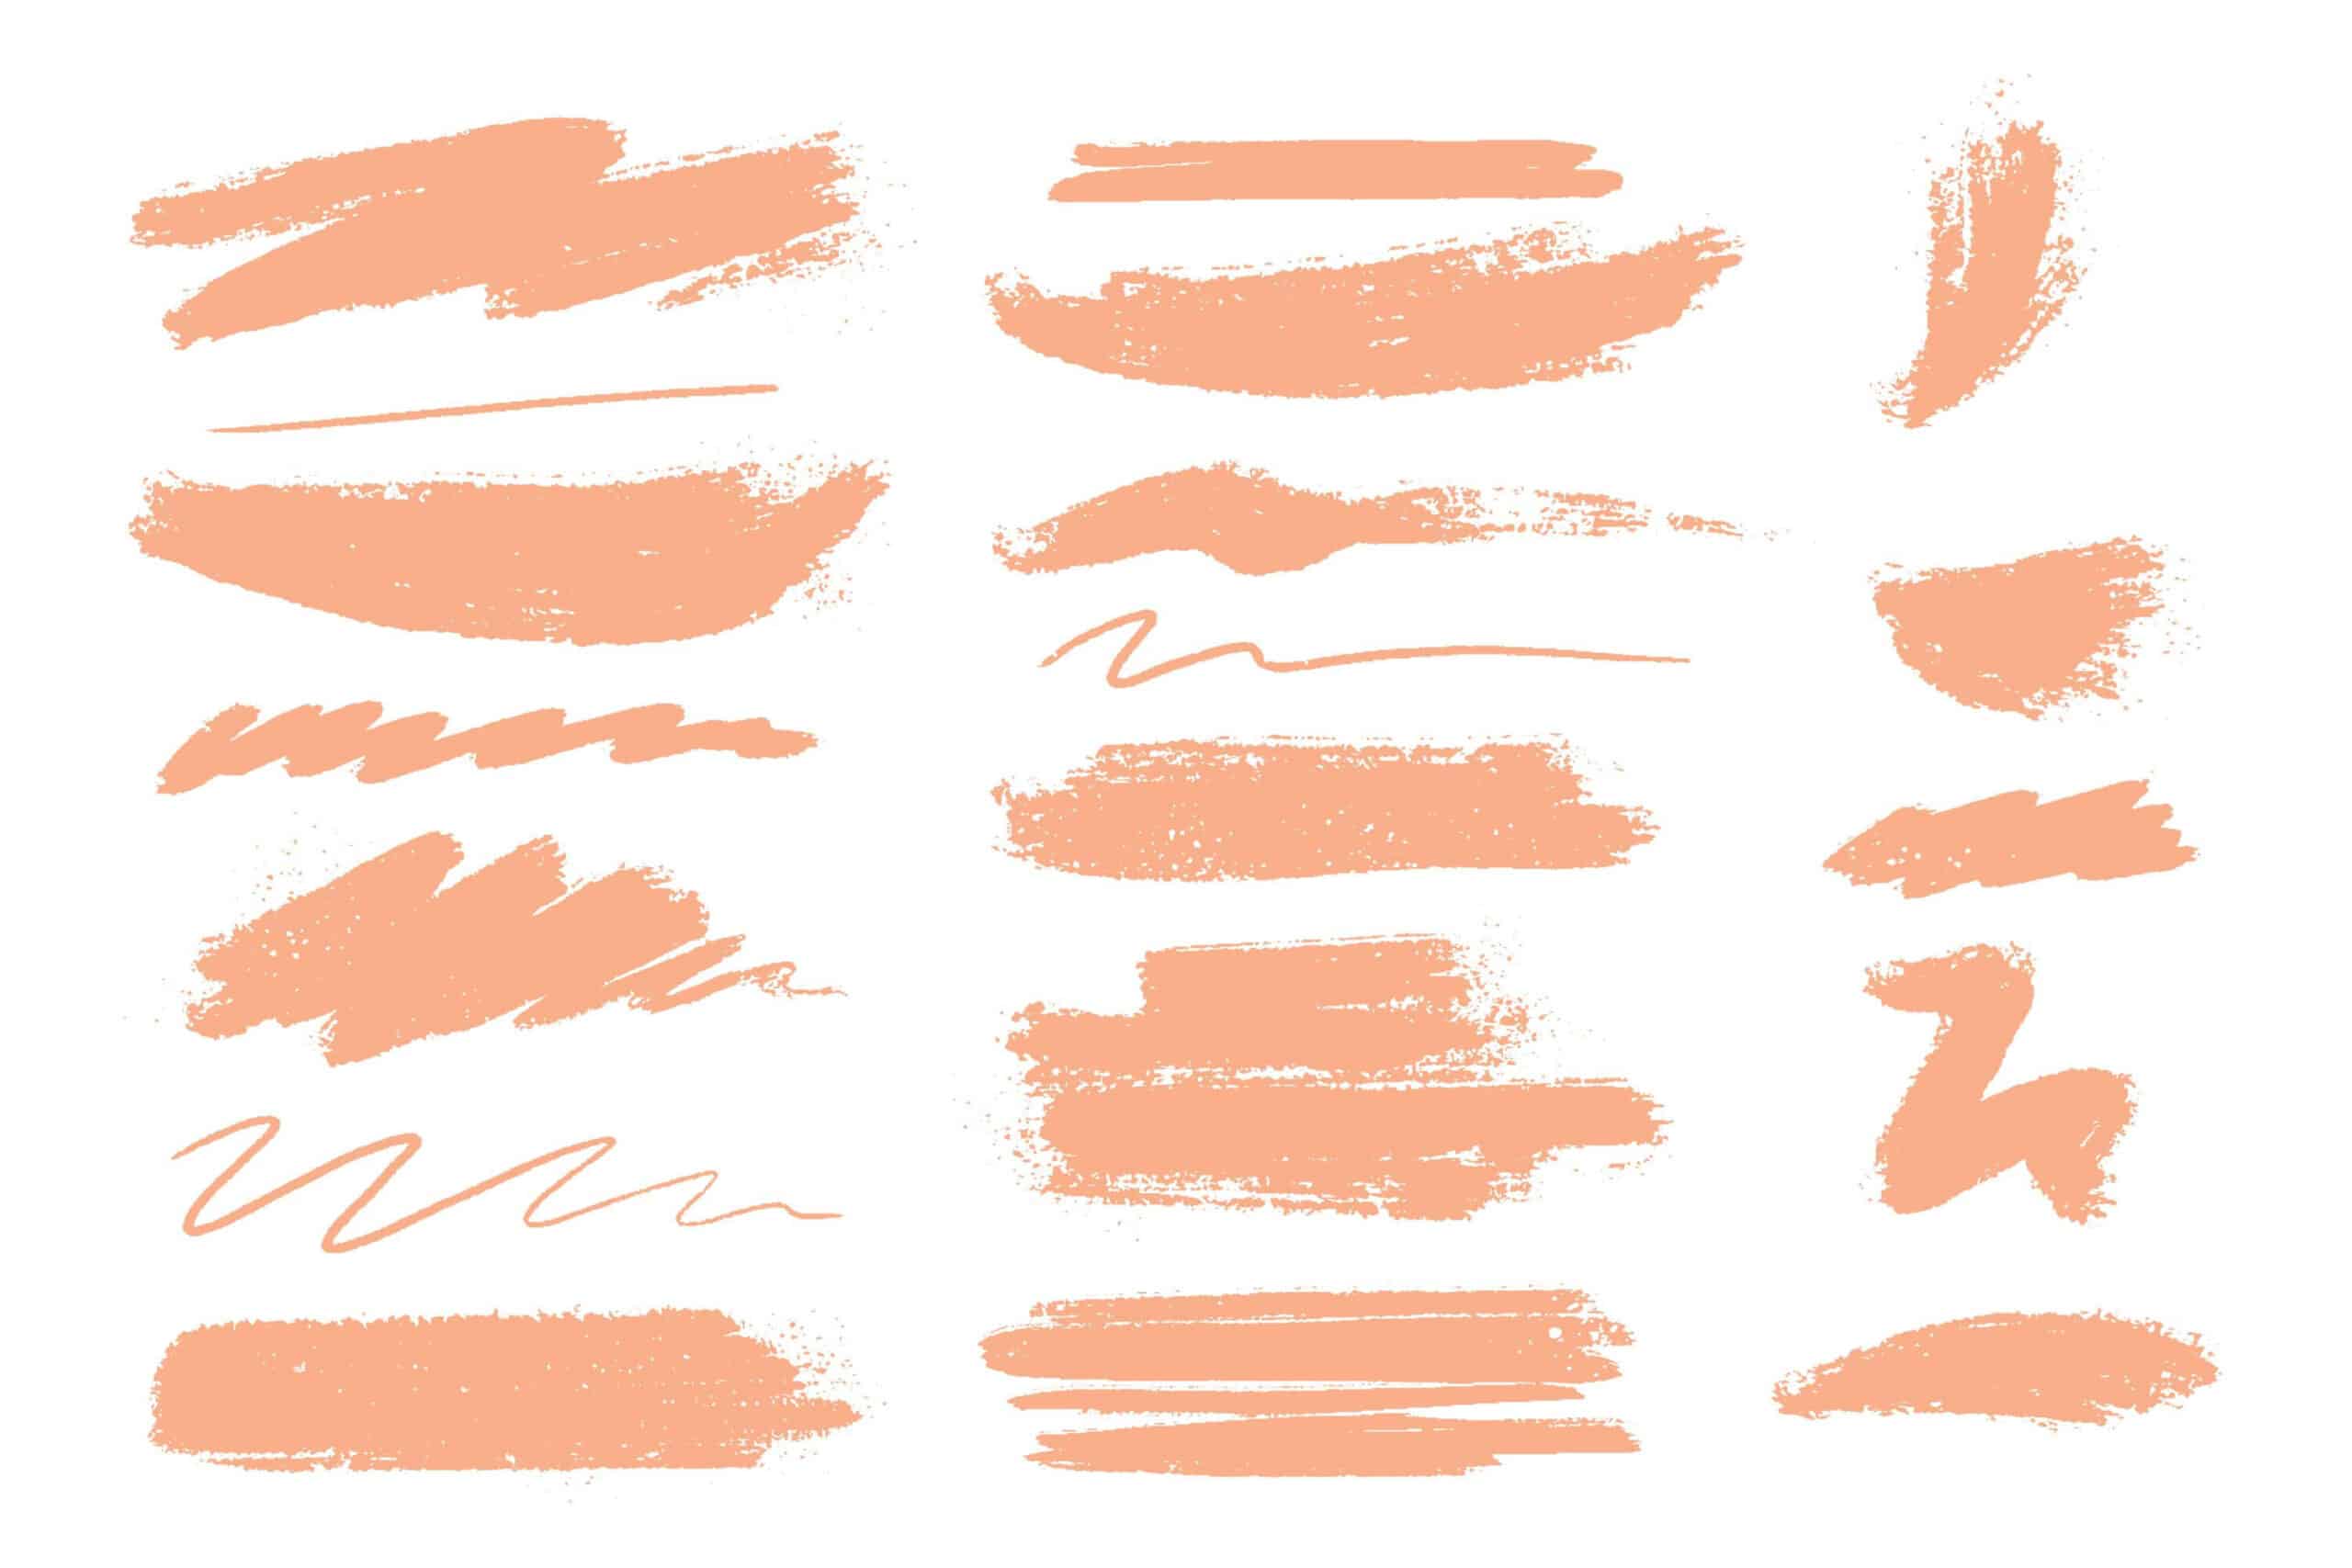
In order to apply various patterns to photos, there are special brushes in Lightroom Photoshop. There are quite a lot of them, but for creative people, as always, not enough. What to do if the image needs a special brush that is not in the set? Of course, create it yourself. After all, Lightroom gives you more than just the opportunity to correct photos – you can make them truly unique, just using a tool such as brushes. There are preset options – but you can always change them, adjust them, from the shape to the tip of the brush. There is another great opportunity – to create your own brush, using a part of the image as its basis. And all this – through the settings on the panel “Brush settings”.
Why is it important? This makes it possible to create unique frames that can be additionally decorated with drawings or inscriptions. You can create entire collections of new stylish photos that will become the identification mark of your account. You can create your own stylish drawing and add it to your frames – this will make them recognizable and protect them from copying. So let’s try and add your own brushes to Photoshop. And you can get here in this tutorial about how to add brushes.
How to create custom brushes
Note that brushes with dynamic nibs do not support painting symmetry and pattern previews. It is recommended to choose a regular brush for painting with symmetry and patterns.
The Brush Settings panel allows you to change the preset brushes as much as possible and work out new custom brushes. It contains different brush tip options that control how the paint will be applied to the photo. The Brush Stroke Preview window at the bottom of the panel shows how brush strokes will create a particular shape with these settings.
So, how to create a new brush step by step:
- Choose Window > Brush Options. You can also select a tool for drawing, erasing, toning, or focusing. Then click on the button located on the left side of the options panel;
- Choose an option set from the left side of the panel. The options available for installation are displayed on the right side of the panel;
- Check the box to the left of a set of options to enable all selected options – you can do it without viewing them;
- By changing the parameters, create your own brush shape – you can adjust the thickness of the brush, its slope and more.
Import brushes and brush sets
There is another way to make your Adobe Lightroom unique – you can import many free and purchased different types of brushes into Photoshop, such as brush sets from the Iuliia Store. To do this, you should take the following steps:
- From the pop-up menu in panel “Brushes” select option More Brushes;
- You can make it easier – right-click a brush in the list in the Brushes panel and select More brushes from the context menu;
- Download the brush set you purchased – it contains all the necessary settings so that you can start using these brushes;
- With the program open, click twice on the downloaded ABR file;
- Now the kit you have purchased is displayed on the Brushes panel – and you can use it in one click.
You can also use another option in the same popup menu – Import Brushes. By clicking on it, find the purchased ABR file and open it. This operation will also add your new kit to the Brushes panel and you can use it in one click.
How to create brushes
If you want to repeat in the brush the moment of the image that is closest to you – create a brush based on the image. This can be done through the menu “Editing” – “Define brush”. Pay attention to details such as feathering and the tip of the brush. Don’t forget to name your personal new brush and save it.
In order to create a brush as your own one, you need to select “Brush settings” in the menu. Start with the brush tip shape by adjusting its settings. In the future, you can add dynamic elements, add stroke options, decide on the texture and edit other important parameters. To save a new brush in your Lightroom app or share it with other users, you need to save the brush as part of a brush set. Select option Save Brushes from the Brush Presets panel menu and save the new preset or replace the existing preset. If brushes are reloaded or replaced in the Brush Presets panel before the new brush is saved to the preset, that brush may be lost. So save carefully – you may lose important brushes. However, such tools can always be created anew or you can purchase the best kit in the Iuliia Store.