Orange and teal Lightroom presets
Do you want to create a cohesive and polished look for your photos using Lightroom? If so, consider using orange and teal presets. These presets can help you to quickly and easily adjust the colors in your photos to achieve the right look. In this post, we’ll discuss what orange and teal presets are, how to use them, and some of the benefits of doing so. We’ll also share some of our favorite presets that you can download for free. So whether you’re just starting out with Lightroom or you’re looking for a new way to improve your photos, read on for more information about using orange and teal presets!
What are orange and teal presets and why do you need them in Lightroom?
If you’re a photographer, then you know that Lightroom is an essential tool for editing photos. And one of the most popular presets among photographers is the orange and teal preset. This preset helps to bring out the orange and teal tones in your photos, giving them a unique and beautiful look. Many photographers use this preset to add a touch of paradise to their travel photos or to make their landscapes pop. And the best part about orange and teal presets is that they’re easy to use and don’t require any special skills or knowledge. Just select the preset in Lightroom and voila, your photo will be transformed!
How to install orange and teal presets in Lightroom
Orange and teal presets are a great way to add color and interest to your photos. To install orange and teal presets in Lightroom, follow these steps:
1. Download the orange and teal preset files.
2. Go to Edit > Preferences > Presets.
3. Click the “Show Lightroom Presets Folder” button.
4. Double-click on the “Develop Presets” folder.
5. Copy the orange and teal preset files into the “Develop Presets” folder.
6. Restart Lightroom.
7. Orange and teal presets will now be available in the “Presets” panel.
My favorite orange and teal presets for improving your photos
Conclusion paragraph: Orange and teal presets are a great way to improve your photos. They can help you add more color, contrast, and style to your images. In this post, we’ve shown you how to install orange and teal presets in Lightroom, as well as some of our favorite presets for improving your photos. If you want to take your photography skills to the next level, be sure to try out these presets!
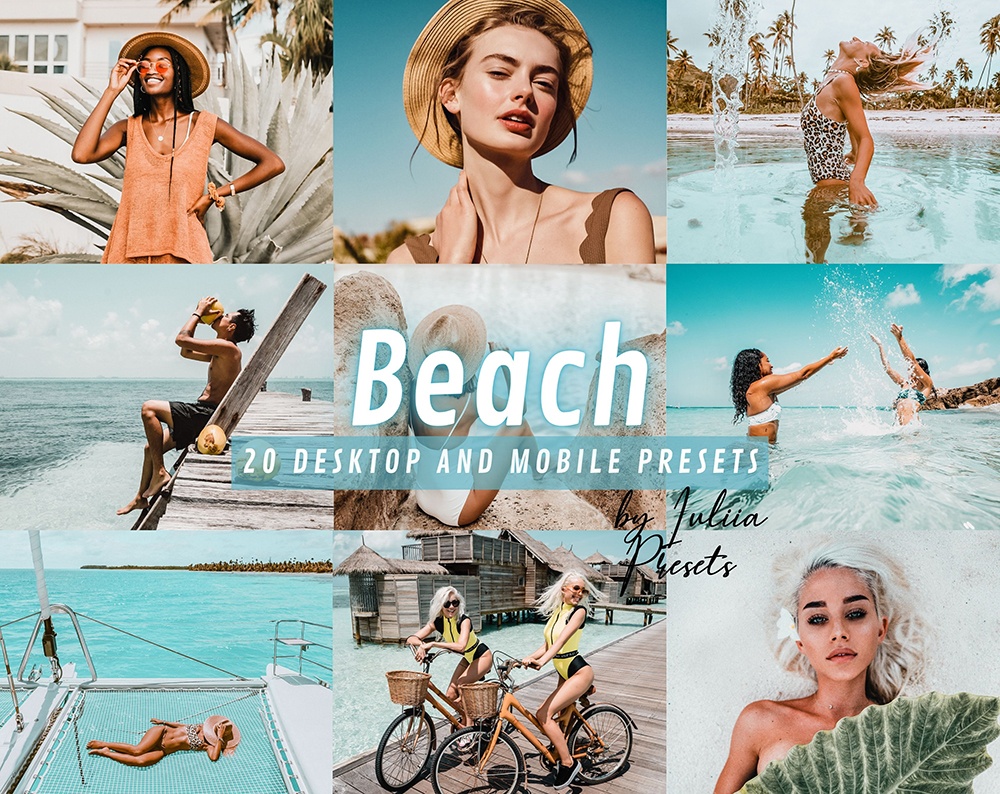
What color is summer? Of course, everyone has their own answer – but if we are talking about a fashionable summer, then it is certainly orange and teal. It is these colors that are most popular and reflect the main emotions that summer gives us. But what if summer photos are decorated in such trendy colors? Moreover, it is very simple – just apply to them the orange-teal presets from Lightroom Adobe. Why not design your blog photos in trendy colors and convey your own experiences on the beach or on the azure seaside? You can do it with your orange and teal lightroom presets.
What frames should you choose orange and teal presets for?
Such bright and delicate colors as orange and teal seem to be created in order to create the necessary accents in such photo shoots:
- Bright sunny days with fresh fruits and berries, walking in hats and relaxing in a sun lounger;
- Shades of summer outdoor recreation, with flowers under the hot sun;
- Rest on the beach, on the shores of the azure sea, where the sky smoothly turns into water, diving into the sea right from the horizon;
- Relax by the pool in Provence style with a teal lightroom preset.
Orange and teal shades can not only liven up even the most boring photo shoot, but also make photos stylish and fashionable. Exactly what blog subscribers usually expect. Just those that you just want to share.
How to take cool summer photos
In order to edit ready-made photographs in orange and teal colors, it is enough to take frames that could even be taken on a mobile phone – with the best teal and orange lightroom mobile preset. Now, literally in a few steps, you can make a masterpiece out of them – buy presets of the desired theme, get files with all the necessary settings. Then everything is simple – install and save the settings in your Adobe Lightroom application. It remains to check once whether all the settings match. And now you are just one click away from publishing a post with a stylish photo.
At the same time, it is very important that you will always have access to the settings – and next summer you will be able to take the same stylish photos. Indeed, in one summer and one photo session – you cannot tell everything.