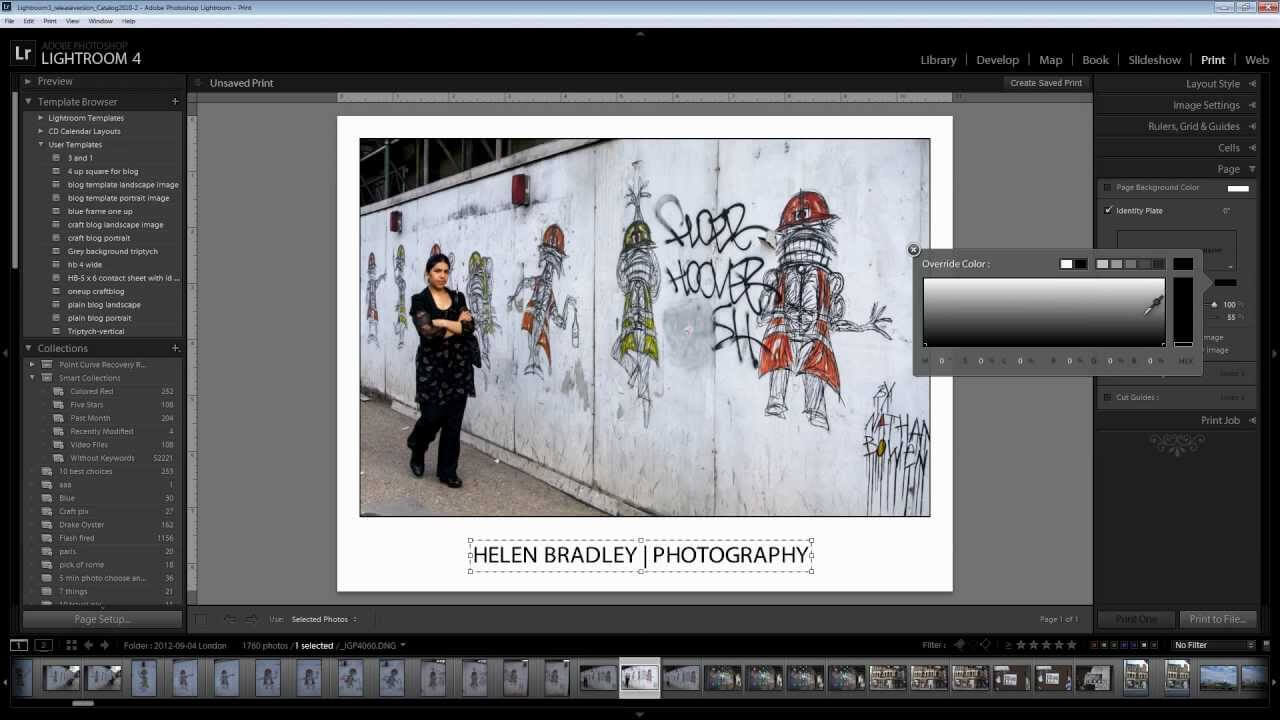
Usually every modern blogger has a lot of digital photos. But sometimes you want to print the most successful photos. And it’s actually very simple – after all, you can literally prepare any frame for printing Lightroom in just a few steps.
If you really like all the functionality in general in Lightroom, then the Print module should simply conquer you. It’s really brilliantly designed – it’s a simple and effective feature that works just fine. Built-in templates not only make printing easier, but also a pleasure. More than that, it’s a great starting point to customize and save your own templates.
How to prepare for printing quickly and efficiently
The main task facing those who want to print their photos is to fit them to the photo paper formats. This is the advantage of print from Lightroom – the program will allow us to prepare a package of photos for printing in just a few clicks:
- Sort photos by format. It’s easy – in the Library module on the toolbar in the Sort position, select Aspect Ratio. Vertical formats will appear at the top, and horizontal formats at the bottom. Now we can crop them and export them all at once;
- Go to the Develop module and activate the crop box. This way we can set the correct user framing parameters in the framing frame, for example 3614×4972. Which formats to choose – at your discretion or according to the instructions for your printer;
- We crop separately vertical, separately horizontal photos with this frame. How to do it? It is worth applying the crop to the first photo of the series by pressing the Shift button and clicking on the last photo of the series. On the right, below, there is a Sync button. By clicking it, you can turn off all batch editing settings except for the crop frame. After confirmation – everything is ready.
- Is it possible to change the frame format already in the process of editing? Yes, for this, it is enough to press X in the crop frame. This way you can change the format from vertical to horizontal. After that, we can crop the first image of the horizontal series, select all the photos again, and apply the crop to the entire batch.
- After batch cropping, you should go into each photo and find an individually compositional center for each frame.
- Let’s go back to the Photo Export Library. At this stage of the export, in the Image Sizing position, you should choose dimensions instead of Width and Height. And enter the fields the width and height in pixels recommended by the printer. Now it remains only to confirm the export.
Preparing photos in Lightroom is really easy and convenient. You can save these settings later and work with your own templates. And keep in mind – it’s easier with templates from the Iuliia Store.
Is the printer ready
Of course, before sending the prepared photo for printing, it is worth checking whether the printer settings are ready. Note that the print settings are not displayed on the preview screen. It may take some experimentation to determine which brightness and contrast settings work best for your photos and printer.
To set up, click Printer (in the lower right corner) and Printing Preferences (in the lower left corner) to check if the device settings are configured according to your wishes. If you want Lightroom Classic to manage color, turn off color management in your printer settings.
Now there is only one step left – in fact, press the print button. And get great photos that are so convenient to store in albums or hang on the wall. Save the layout as a custom template or as a print collection if you plan to reuse settings, including layout and overlay options.


