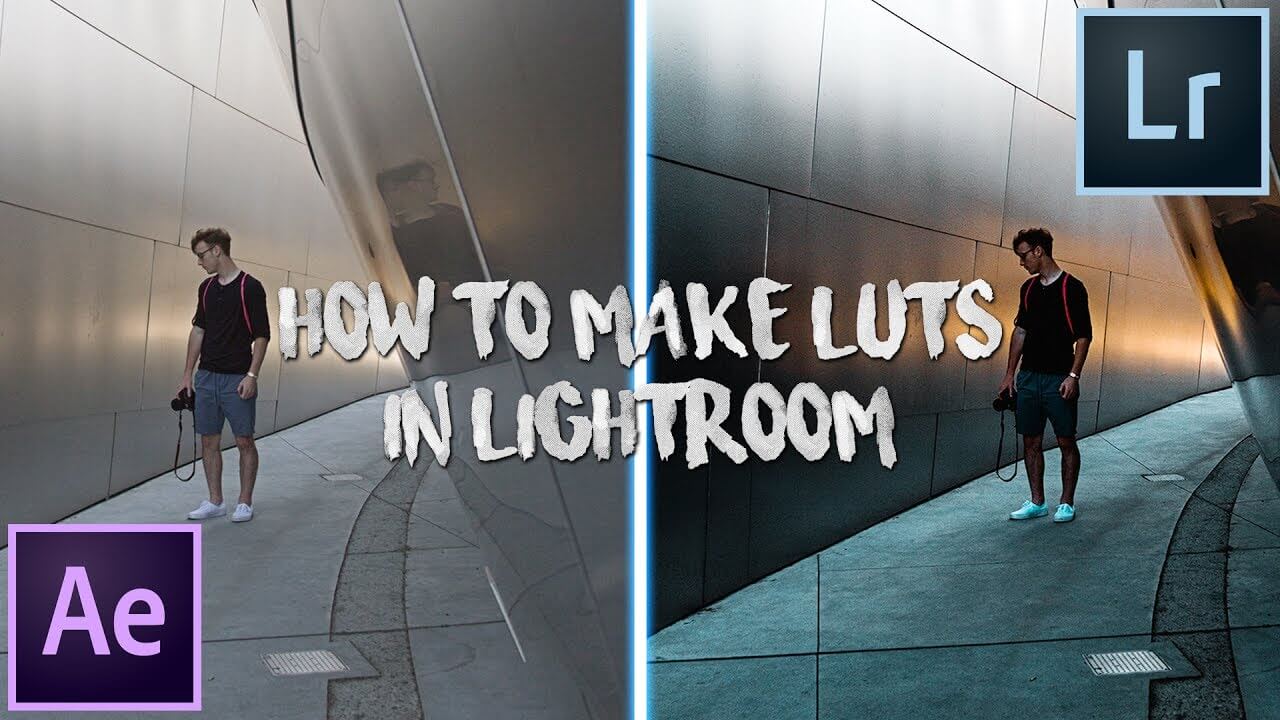
LUT is a look-up table, a special table designed to change the color and other important parameters of videos and photos. Of course, in fact, there are many more such methods, but it is LUT that does not suffer losses for the image quality. For comparison, you can color correct any video using the photographer’s standard set of sliders for adjusting brightness, contrast, and curves, and then do the same using LUT profiles. The result will be perfectly visible. And you can create LUTs for different purposes in Adobe Premiere.
What LUTs are needed in Lightroom
You can create luts in lightroom to make your photo or video perfect. First of all, it should be noted that there are two types of LUTs:
- Technical LUTs are designed to adjust the settings of each camera to the standard ones. The best option is to download exactly the LUT that was developed to correct your camera. It is needed so that in the future all newly created LUTs lead to the expected effect;
- The second type of LUT is stylizing (creative), which applies a number of filters for you, including separately for shadows and highlights (split toning), contrast, adjusts white balance, saturation, and more. Сreating lut of such a type is easy enough after some preparing actions.
By playing with loots, you can make luts and style the picture to your liking. For bloggers who often post personal photos or videos, it is still recommended to stick to your own style. To do this, you need to make several luts in the same tone, which simply sterilize the picture for different contrast, depending on the initial conditions, but at least for one style of the picture, and use it everywhere: on the website, on Instagram, at work. Now you know which luts are used in Lightroom – let’s check how to create a lut in photoshop.
How to create your own LUTs
How to create a lut – you can do it just in some clicks. We take a photo, which we have brought to a certain template, then we make adjustments, but not on the photo itself, only with adjustment layers. You can always find out about specific layers in the tutorial. Make any number of adjustment layers, and then, after reaching the look you want, save: File → Export → Color Lookup Tables.
In this case, you will need to select the format for saving LUT. Don’t get carried away with the big numbers – 256 is too much, which is the maximum resolution, and in most cases you don’t need it. After all, it is worth remembering that this LUT will be applied to each frame of your video during export, and accordingly, when you increase it by an order of magnitude, you will increase the conversion time of your video by an order of magnitude.
You can save each LUT version as templates under a specific name – this way it will be much easier for you to find them later and apply them to a photo or video. Creating lut in photoshop is as easy as using all other presets.


