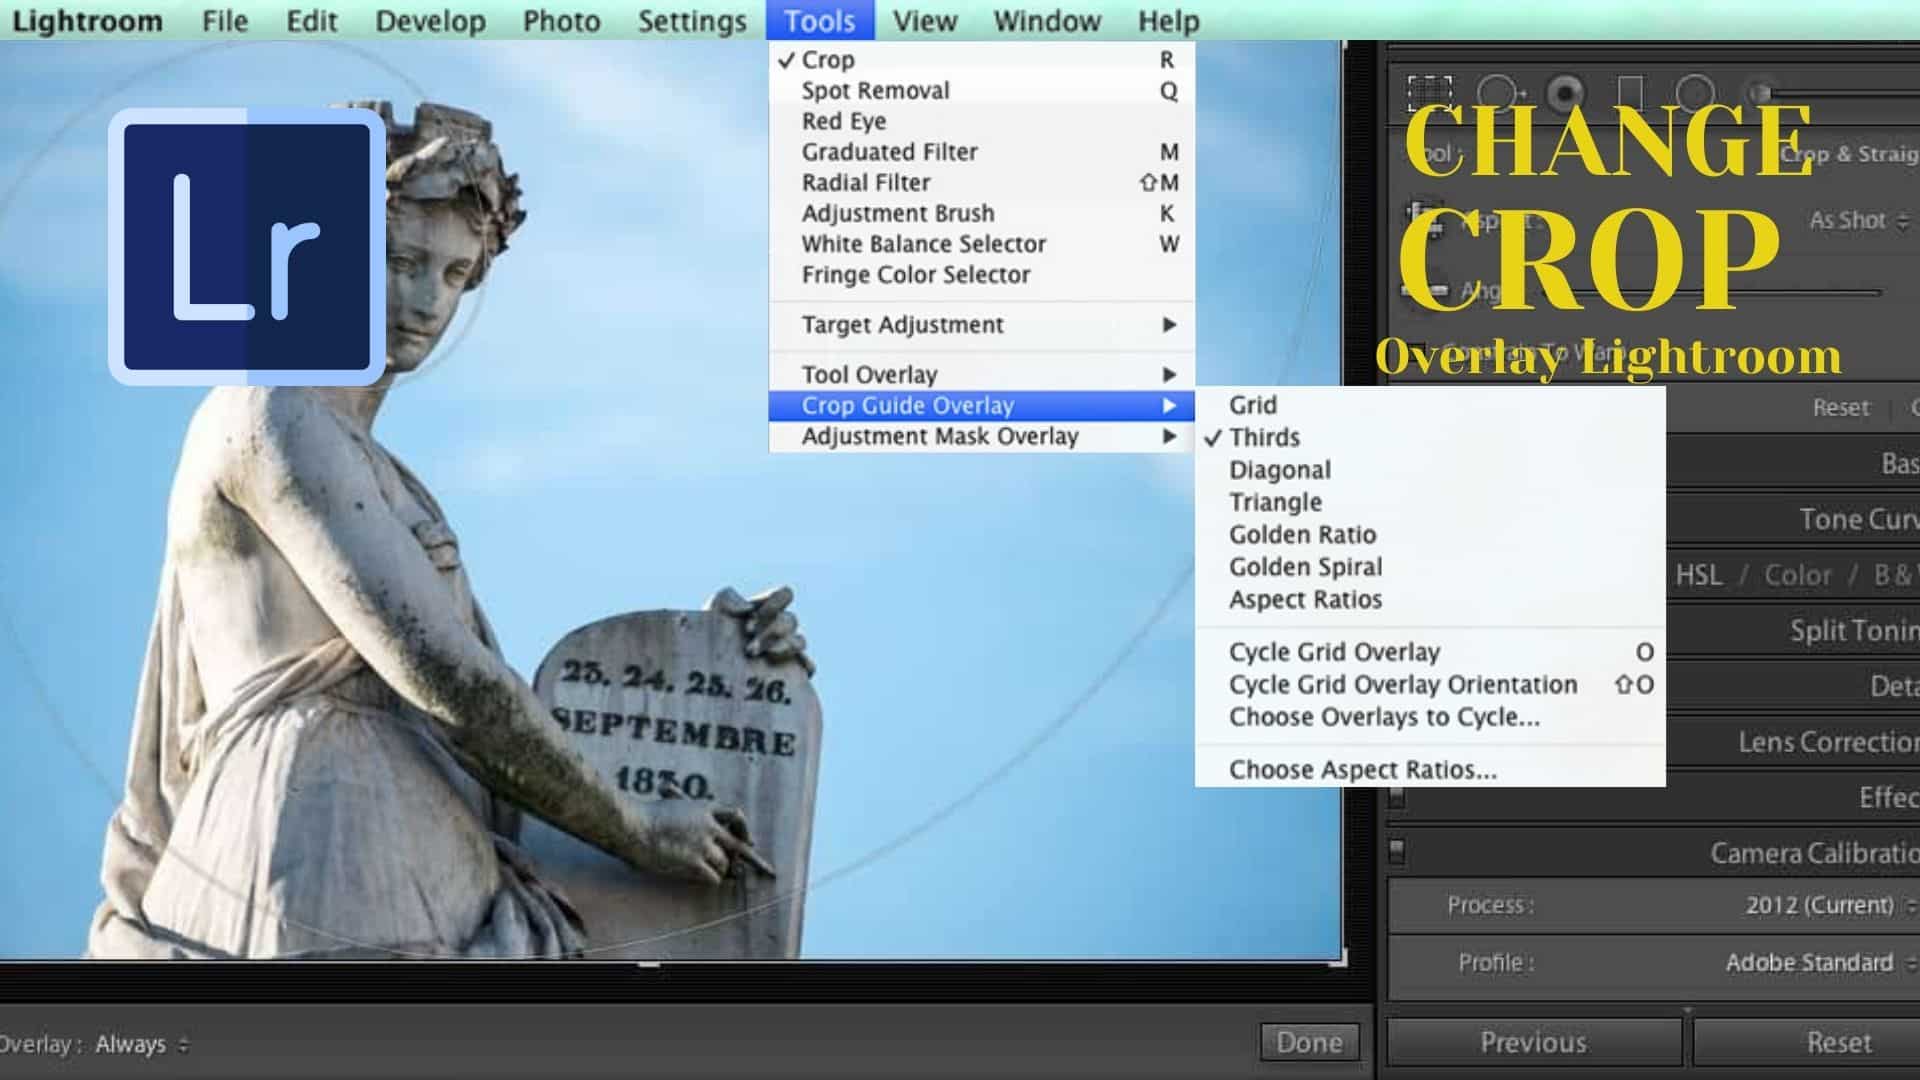
It is very easy to edit photos in the Lightroom app. Even if you cropped the frame incorrectly, everything can be changed and corrected. First of all, it is important to understand that the cropped image does not go anywhere – it remains, but in a hidden form. Therefore, it can always be corrected by cropping the way the photo will look best – you can just undo changes in Lightroom. After all, it is not in vain that Lightroom from Adobe is considered one of the best photo editors. There is only one limitation – when exporting photos in formats such as JPEG, PSD or TIFF, Lightroom cropping becomes irreversible. Therefore, you should first make sure that the frame is perfectly formatted – and only then save it.
How to crop a photo in Lightroom
It often happens that there is too much extra space in the photo – foreign objects or emptiness that distract attention from the main purpose of the picture. In this case, it is better to crop it, leaving only the most necessary in the frame. And it’s very easy to do it – so how to crop in Lightroom:
- First, you need to find the tool Crop (Crop) – it is located in the module Corrections (Develop);
- Then it should be activated by clicking on the icon on the toolbar or by pressing the R key;
- Even just pressing R will automatically open Adjustments and activate cropping;
- If you see that the frame is unsuccessful, you can easily reset it by pressing Ctrl + Alt + R;
- If it’s important for you to keep the aspect ratio – don’t forget to press A, so you activate or deactivate the snap to aspect ratio.
Everything is really simple – so you can change both the size of the photo and its content. If you still have questions about how to do it right, you can always find a cropping tutorial in Iuliia Store.
How to change frame cropping
If your frame still turned out to be unsuccessful, try overlay photos in Lightroom. The possibilities of the program as a crop tools are quite wide:
- You can crop guide overlay and straighten the image, focusing on one line, which should be straight – fence, wall, horizon;
- Change the resolution of the photo within the data allowed by the capabilities of the technique – this is regulated in the “image size” menu;
- For convenience, you can use grids – these are special guides built according to one of the principles of composition in photography or drawing. When cropping, they can be activated or deactivated by pressing the H key;
- When setting the final size of your frame, you can use one of the principles of composition – thirds, diagonal, golden section, triangles, golden spiral;
Be sure to use one of the available cropping grids – aspect ratio selection. It allows you to see several options for aspect ratio at once and choose the best option; - The “Rotate” slider will allow you to see the possible image options when you rotate the picture, but be prepared for the fact that if you select a different option than the original, additional frame adjustment may be required.
There are a lot of possibilities for Lightroom crop overlays – using the program, you can always improve your photo or add new effects.
When shooting, it is sometimes impossible to take into account all the factors that affect the composition. And sometimes the frame needs to be cropped to make it look better – in this case you can install overlays in Lightroom. In sports and reportage shooting, it is often recommended to make a margin for framing and use overlays, because the characters move quickly, and in this way we prevent the moment when they “jump” out of the frame. In any case, changing the cropping of the frame can lead to an improvement in the image.


